What about cropping?
I was preparing some images this week to present at annual photo contest at the local camera club. I was getting frustrated, yet again, at their choice of 11×14″ crop ratio. Yes, you can print photos up to this size, and just mount or matte them on 11×14″ foam board. But I find it difficult to do to make it looks professional (and I have not discover how to order it in labs like WHCC or Mpix. Any advice?).
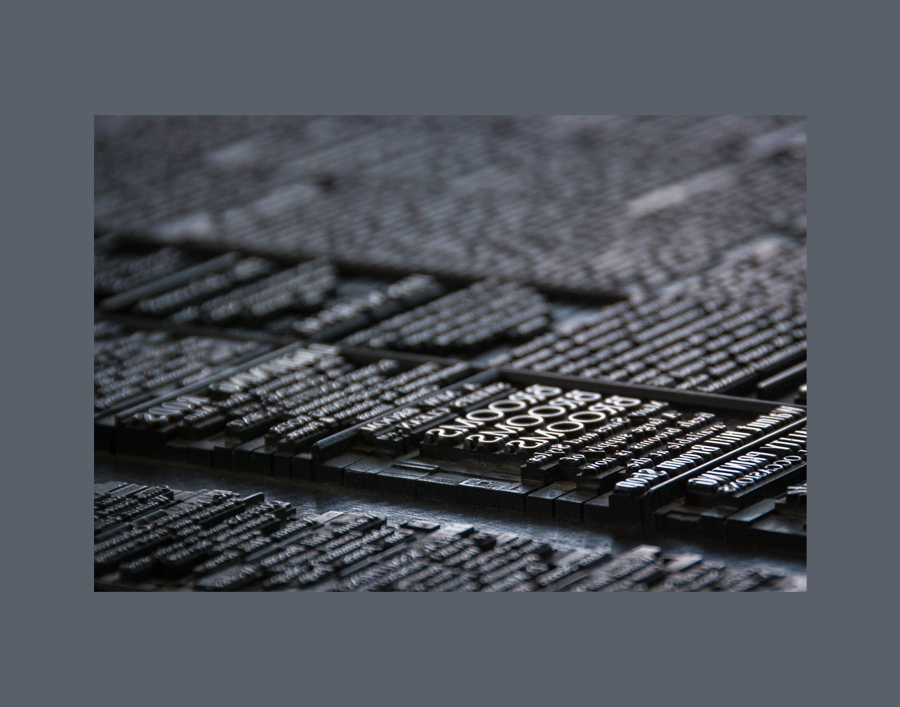
The images were loosing all its appeal in this crop, so I had to use the only other available option and prepared them 14×10″ and centered them on 11×14″ canvas in Photoshop. Some looked best with white, some with black. Overall, none of them looked as good as it would, were they printed in their original crop. Well, OK, except of this one.
You might remember this image, I have shown it on blog after visiting Living History Farms during Photography Day. I sampled the color from the image to build the background, and it fits the image very well, I think.
Which brings me to old and always appropriate subject for discussion- how do you crop your images?
I typically leave the original, out-of-camera crop. Since I started paying attention, it pretty much works. Sometimes, if something on the sides really doesn’t work, I would do 5×7, which is more square than 4×6. Occasionally, there is an image which just asks to be cropped square, so I use it, too. It is a fun crop, not only used in this awful app Instagram, but one which deserved it’s own e-book.
I am not the only one spending time thinking and writing about it. Here are just a few of interesting articles on the subject I have read:
– Michael Frye in defense of crops-as-you-like
– Brooks Jensen @LensWork discusses panorama crop ratios
– Sabrina Henry poses same question
How about you? Do you typically leave them as they were cropped in the viewfinder? Or do you unlock the proportion restraints and just do whatever looks good? Click on the poll!
