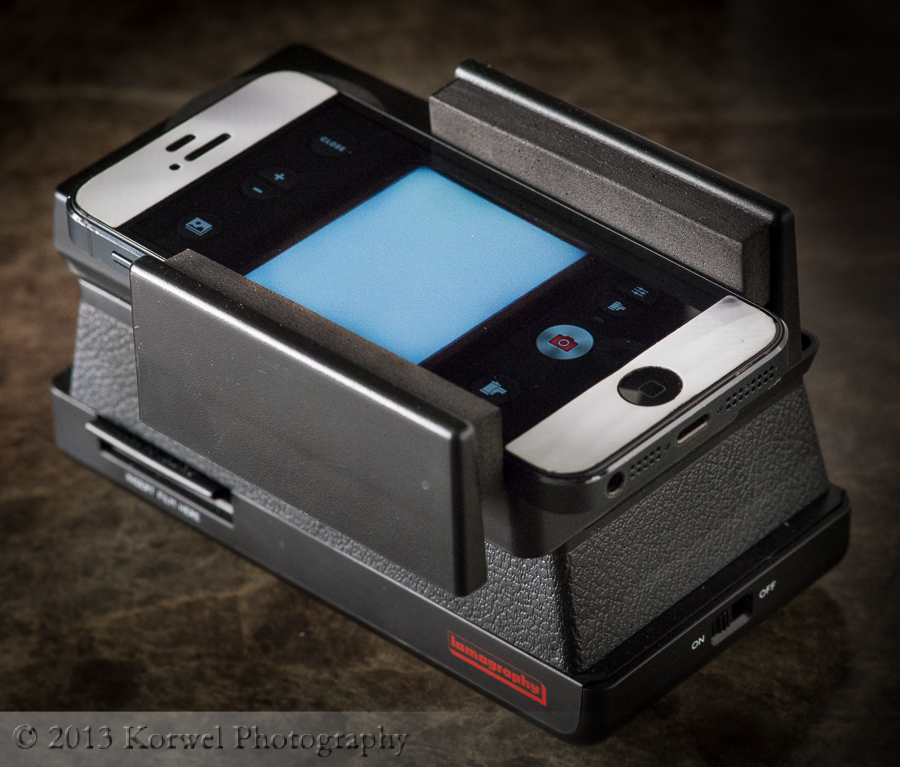
iPhone film scanner – first impressions
The biggest problem I encounter with my film shooting adventure this year was getting the images back on my computer so I can share them here, on blog. Not even to process them in Lightroom, which kind of defeats the purpose of shooting analog. But the need to share, why otherwise shoot at all?
It is not a problem to develop film in the area. I run recently into some troubles with black and white negative film, but all the color negatives which can be developed using C41 process can be developed in any grocery store. Now, getting reasonable size scans in price which makes sense is another story. I already mentioned in this post on shooting film some time ago.
With this in mind, Tomasz decided to buy the iPhone scanner made by Lomography to see how it does. After all, the 8 MPx camera in our phones gives images of size 3264 x 2448, the maximum size of film scan I can get below $50 in any local camera store, anyway. Which, turned out, is impossible to achieve on the scanner.
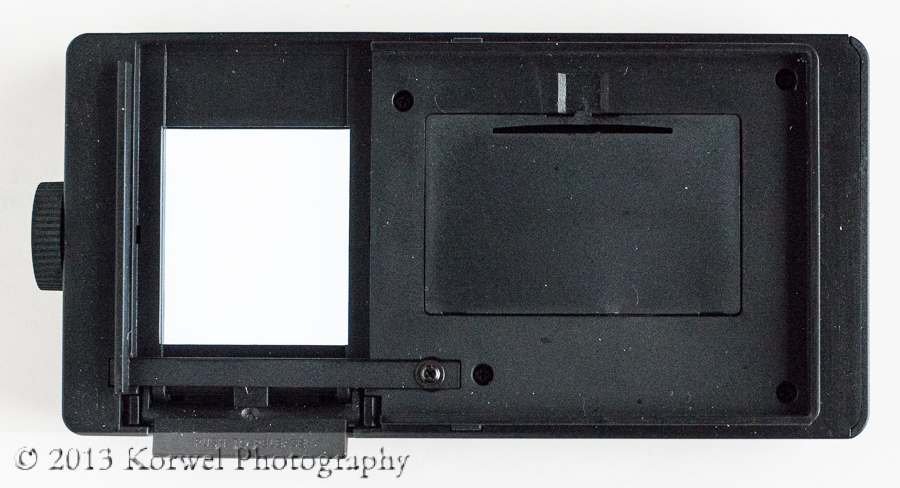
The idea behind the device is extremely simple. Two AA batteries support small lightbox, above which at the distance of one, two or three spacers you mount an iPhone for better focusing. You can take picture with any camera app. This ingenious simplicity creates all the problems I experiences using the gadget. What are those, then?
Pluses
- lightweight and portable. It weighs 260 g (a bit more than 9 oz). Easy to take on a trip for example, to visit family and scan some old family pictures from negatives.
- free app available from Lomo (LomoScanner) which has filters to transform colors in scans for several different film types (important especially for color negatives).
Minuses
- it does not take advantage of the screen in iPhone, thus resulting picture is smaller than it could be i.e. longer edge of the film is along the width of the iPhone, not length. The typical image is 498 x 332. I was unable to find a way around it.
- this is more problem of iPhone camera in general, but the results, like brightness and white balance are non-reproducible from frame to frame. The images are also softer than they should be.
Overall, for a such a simple device, it takes some learning to curve to figure out how to focus and set brightness (all those ins and out of shooting iPhone camera). Resulting images will be small, good for Facebook or just preserve old memories, but not, for example, to showcase on blog or make prints. Also, I feel I had far more trouble scanning old films from family storage than freshly shot and developed from this year. However, the most important issue I have with the scanner right now lays in the iPhone itself. The app is extremely unstable in iOS 7, and I really hope it will get upgraded soon. I want to play some more with this toy!
Meantime, here is a small gallery of images. None of the images are processed other then scanned with LomoScanner with appropriate filter (Negative or B&W) and cropped. This is largest size I have available. First image is a scan of the image I had previously scanned, and was published on blog here. You can see what difference in color between “professional” scan and Lomo. This and second image are from this year’s film. Next two are from films at least 20 years old. Both B&W images were shot on color negative film and scanned with B&W filter.
Some links in this post are affiliate links. See details of our affiliate policy here.


