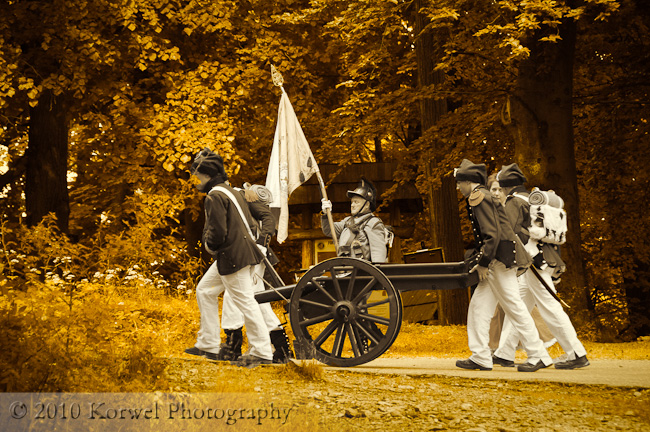
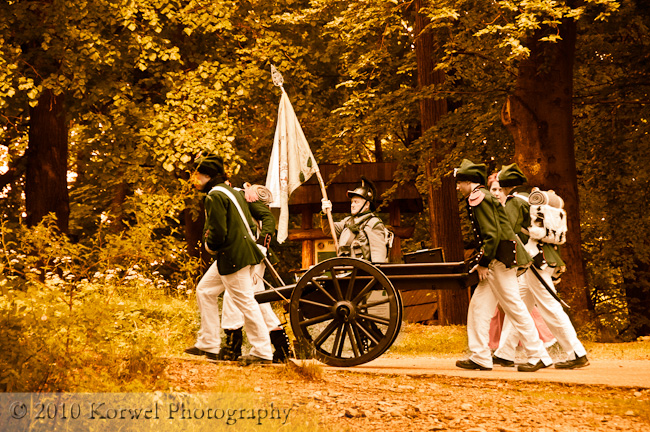
Rarindra Prakarsa effect- in Lightroom
I got up in the morning, thinking “I am going to publish a Lightroom preset today on blog”. Well, how difficult can it be to achieve a desired effect in Lightroom nowadays, with local adjustments and stuff, right? Well, it apparently depends on how complicated the effect is. And instead of going for something simple, like maybe selective red or sepia like duotone, I wanted to achieve Rarindra Prakarsa effect. You would normally do it in Photoshop, with selection, 5 different layers and various blending modes.
But you can save yourself the trip to Photoshop, and probably some time required to create al those layers. I finally was able to. My major problem at first was that I went for the wrong tool. I wanted to fill the image with warm colors using Grad Filter, which just wasn’t doing it to the needed extend. After couple fo hours, I got the “Eureka” moment. The Split Tone tool does better job. I needed two colors, I used original Hue 46 for Highlights, but Hue 82 for Shadows was needed.
Before applying the preset (you can download it here), adjust the exposure on the image. After the preset has been applied, you need to add Adjustment Brush with -30 Saturation and Color Hue 214, Saturation 50% to the elements of the image you want to retain more natural color, for example people. Obviously, I couldn’t place it in the Preset :). Have fun using the preset and share links to your images in the Comments!

