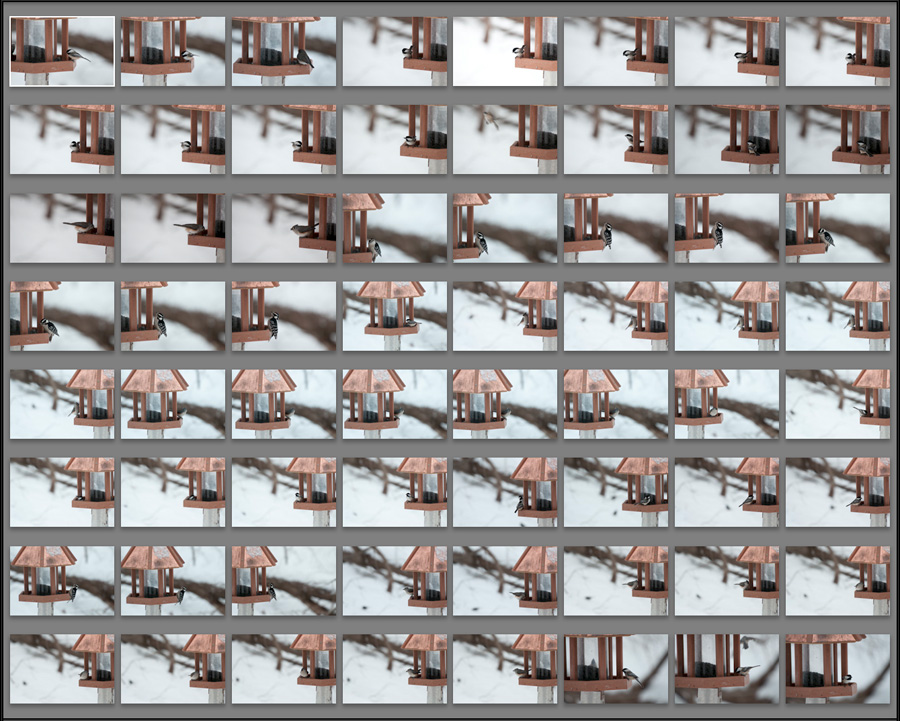
Short tip – Quick Develop can be handy
Short Lightroom tip today. About the tool I have not used before, never heard anybody using, but which I recently found very handy. It is a Quick Develop panel in Library Module.
I was sorting through a lot of photos after the bird blind session. When I shoot manually, I constantly change exposure, to adjust to the changing conditions or even point of view. Sometimes, something interesting was happening on the other side of area, and I did not have time to change exposure at all. During a busy session like that, I was creating a large number of similar images. How to sort through them reasonably quickly?
My first criterium was to remove all unsharp images. But some shots where overexposed and some where underexposed, all mixed with properly exposed images. It did not make sense to go to Develop module and spend time fixing each of them to perfection just to be able to compare in unbiased way.
And this is when I discovered the Quick Develop module. I could quickly adjust exposure for a stop one direction or the other on all images which needed it, compare, and pick the best. Real time saver.
I can imagine similar use of White Balance functioning Quick Develop, especially if you typically use Auto setting.

