Review of “Through the woods” workflow
I have love-hate relationship with Lightroom presets. I used to like them and applied them a lot early, when I was still learning how to post-process my images. With time, I realized that most of presets are good just for a limited number of photos, those looking somewhat similar to the picture used to generate the preset (or to show you the final effect). Otherwise, much of tweaking is required or it simply does not work. Plus, local adjustments are a must, anyway, to put focus on subject and reflect the photographer vision for the image. At the end, the preset does not save much time.
With time, the creators of post-processing products like presets expanded, and moved into “workflows”. I reviewed one of those way back in 2012. It was Gavin Gough’s “The Photographer’s Workflow”. Recently, I was introduced to a different one, “Through the woods” by SleekLens. Actually, this ‘recently” was closer to half a year ago. Since then, I never had time to try it out and form an opinion. Which probably proves my main point: I needed to find time to test the product that, in principle, should be saving me time.
Let’s first describe in a bit more detail what is “Through the woods” workflow. It is a folder containing 51 presets and 30 brushes. The presets vary from creative (Autumn colors, High Dynamic Range etc.) to basic adjustments like Darken Shadows or Add Contrast/Clarity. Similarly, brushes contain basic effects like clarity and brighten, but also selection of single tone/color brushes and color hazes. Typically, for adjustment brushes, more than one slider is adjusted, so for example Mustard brush has exposure and contrast changed in addition to yellowish tint, and BrightShadeLight has White Balance, Exposure, Contrast Highlights and Clarity changed.
It is worth noting that Lightroom presets and brushes are stackable. You can utilize as many as you need, putting one on top of the other.
Another good news is that you can see preview of what the preset will do to your image in navigation panel on the right.
And lastly, when applied, either preset or brush, you can still modify the sliders to deepen/lighten the effect, if desired.
The question still remains – with so many choices, which one you choose?
This is my biggest problem with sets of presets and workflows. When I work on my images, I work slider by slider, value by value, going through global adjustments, then local adjustments, playing around my main subject to bring it out. Presets just take too much time, and for brushes, I just do not see the use.
Overall, did I have time with “Through the woods” workflow? Yes and no. It was difficult to find photos to process using the product. It was more trial and error than using it as artistic tool. Does it have use? I am sure, as I mentioned at the beginning, I went through the phase I was happy to use out of the box solutions. It is also possible I just did not work with the right product. My photography shifted from landscape to more intimate scenes.
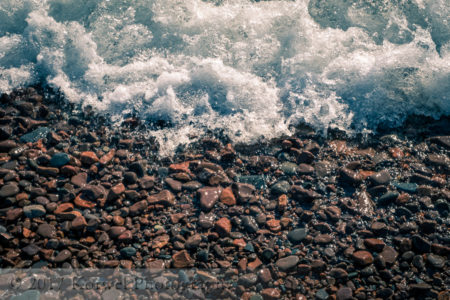
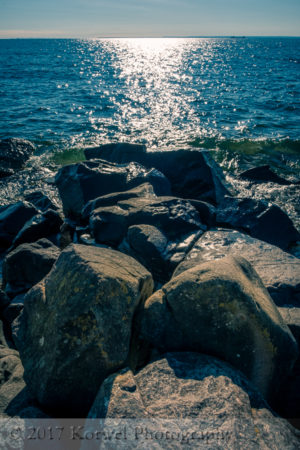
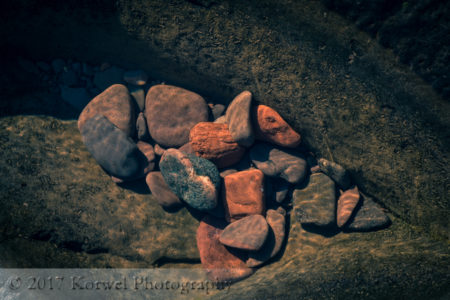
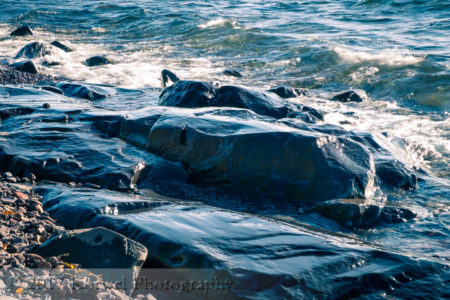
Presets used in the post – Dance in the Rain, Cinematic, number of Basic Adjustment Brushes, including Brighten Shadows (to counteract shadow darkening by Cinematic preset).
Find more information about the “Through the woods” on SleekLens website or YouTube Channel, where you can see a few tutorials on use of the workflow.
I have been approach by SleekLens to review their product and was sent the free, evaluation set. I have not received any compensation for the review.


