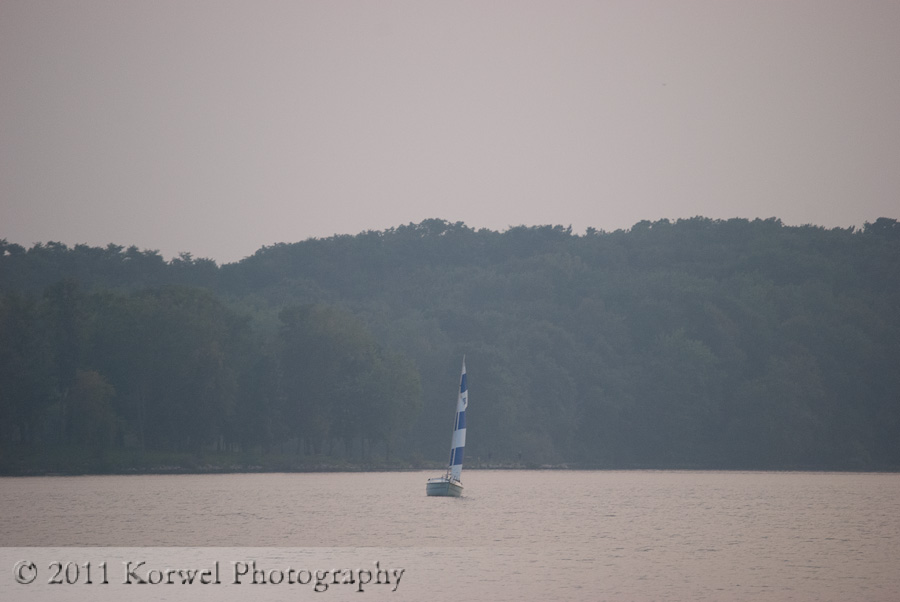
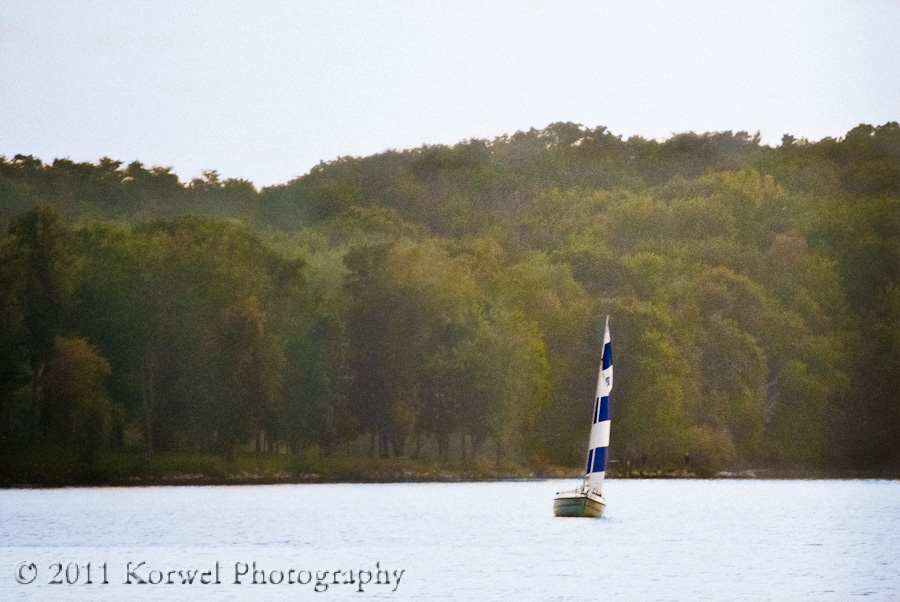
Sail boat (Before & After)
The “Pizza garden” project still has many pictures to be taken, but I am already thinking of what the next weekly project is going to be about. And when the idea came to my mind that I live so close to two lakes. I wanted to do a remake of one of the oldest images of those lakes I could find in my library. And to my surprise, they were not that many during whole first year of my dSLR shooting. And even less good ones. Yes, those lakes are perfect for my next photo project.
I opened the original image in the Develop module really just to play a bit, not really hoping anything would come out of it. The White Balance was strangely off, probably due to the sunset. The left side of the trees were too dark, and the right- lacked any color. And there was overwhelming amount of noise- it was shot at ISO 800 with Nikon D40x.
I started from cropping the image tighter and fixing the White Balance into more neutral. It made water and sky look better, but the greens lost its appeal. I lowered the saturation of orange and increased saturation of green in HSL panel. Sharpened a bit and decreased noise in Detail, and moved on to Local Adjustment. It is when magic started to happen. On the right, I used the brush to increase Contrast Saturation and Clarity- and it make it match the middle line of trees. I added some light to left side trees, and a bit of blue to the sky and water, at the same time decreasing the Saturation on them. Instead of Vignette, I darkened the right side to match the left side. I lost a lot of sharpness in the image by all those operations and trying to reduce the noise. So at the end, I went in opposite direction and added grain, to make the image look more like impressionist painting.
Take a look at both original and post-processed version of the image. Would you take the same or different route? Turn it black and white, maybe? Something else? Let me know in comments below.

